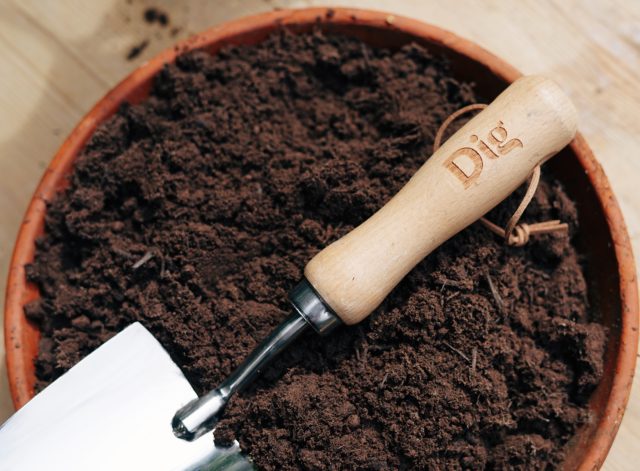
Planting in a pot
Firstly, make sure that the pot you have chosen is suitable for what you’re planting – you want to leave space for the plant to grow, whilst also choosing a pot size that is suitable for your outdoor space and doesn’t seem out of proportion. Make sure you’re happy with where the pot is before you start to infill with soil as it could be tricky to move once full!
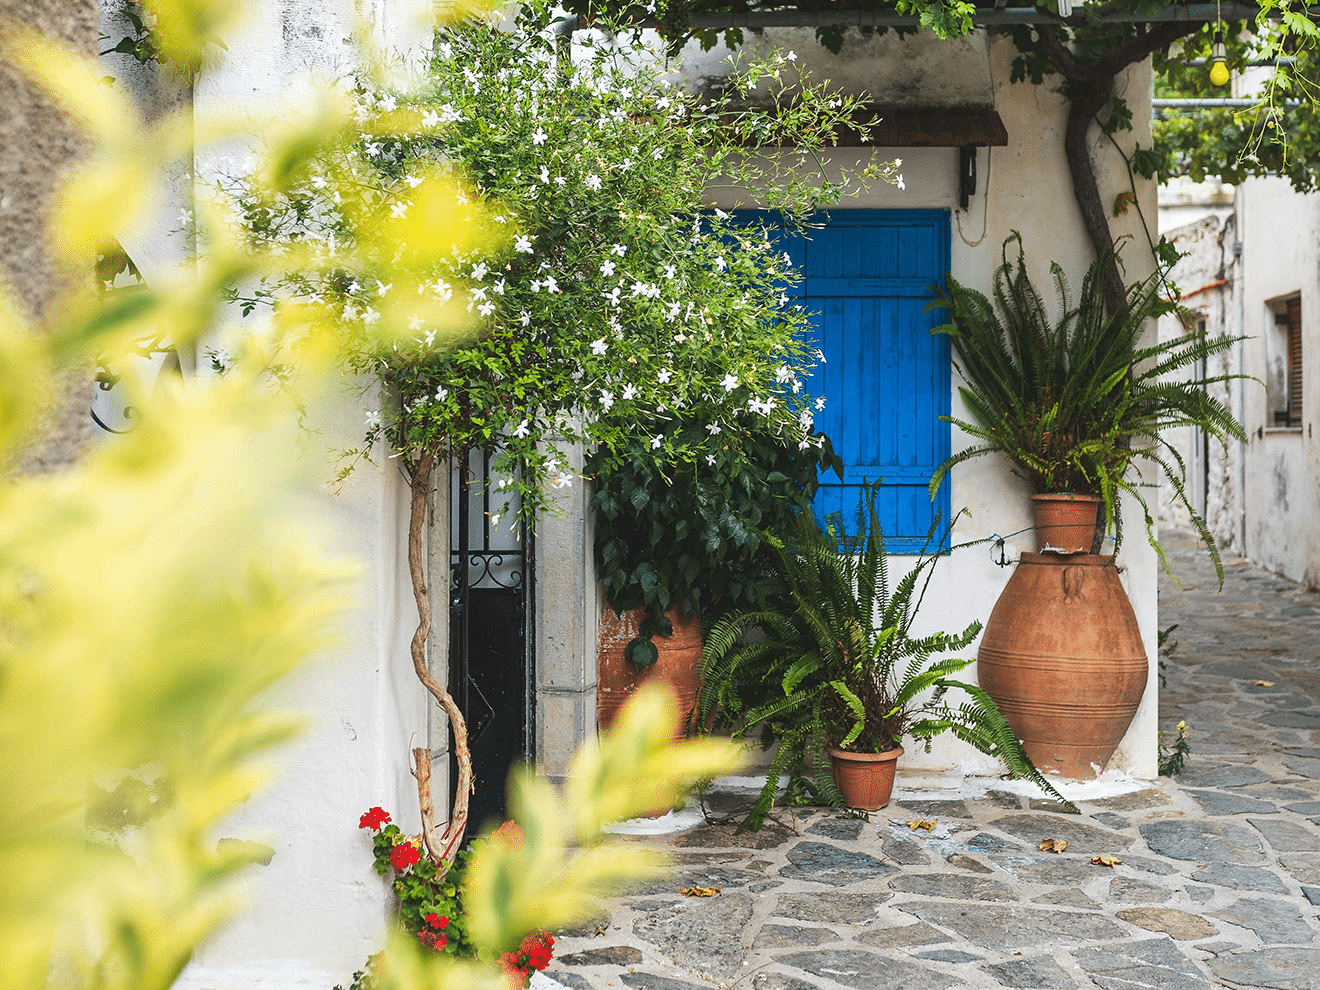
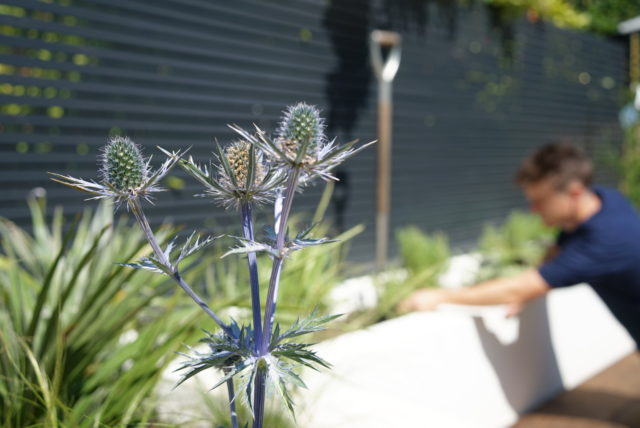
Pots of different shapes, sizes and heights can be used to great effect as in this Mediterranean scene
We recommend using a pot with a drainage hole in the bottom. Without this, the plant can easily become waterlogged and suffer as a result. We also advise placing stones or broken terracotta at the bottom of the pot to prevent compost falling through and blocking the hole. At Dig, we sometimes use Hydroleca, which is a clay granule product that helps insulate pots and acts as a great drainage layer. It’s available at lots of places online – if using this material at the bottom of your pot, then it should be 5cm deep.
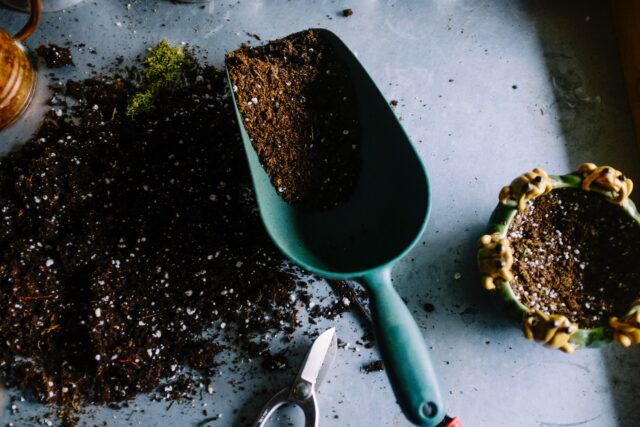
Now you can start to put compost in your pot. We always use peat-free compost and generally, for ease, opt for all-purpose compost. One of the bonuses of container gardening, is that you can plant up a wider variety of plants. For example, if you know that the soil in your garden is quite alkaline but you like plants such as Azalea, Rhodedendron or Camellia which tend to dislike alkaline soil then not only do these do very well in containers but, planted with ericaceous (which just means acidic!) compost, this will ensure these types of plants will thrive as they have the right soil type. Your local garden centre will always be able to advise which compost is which and packaging will always be clearly labelled.
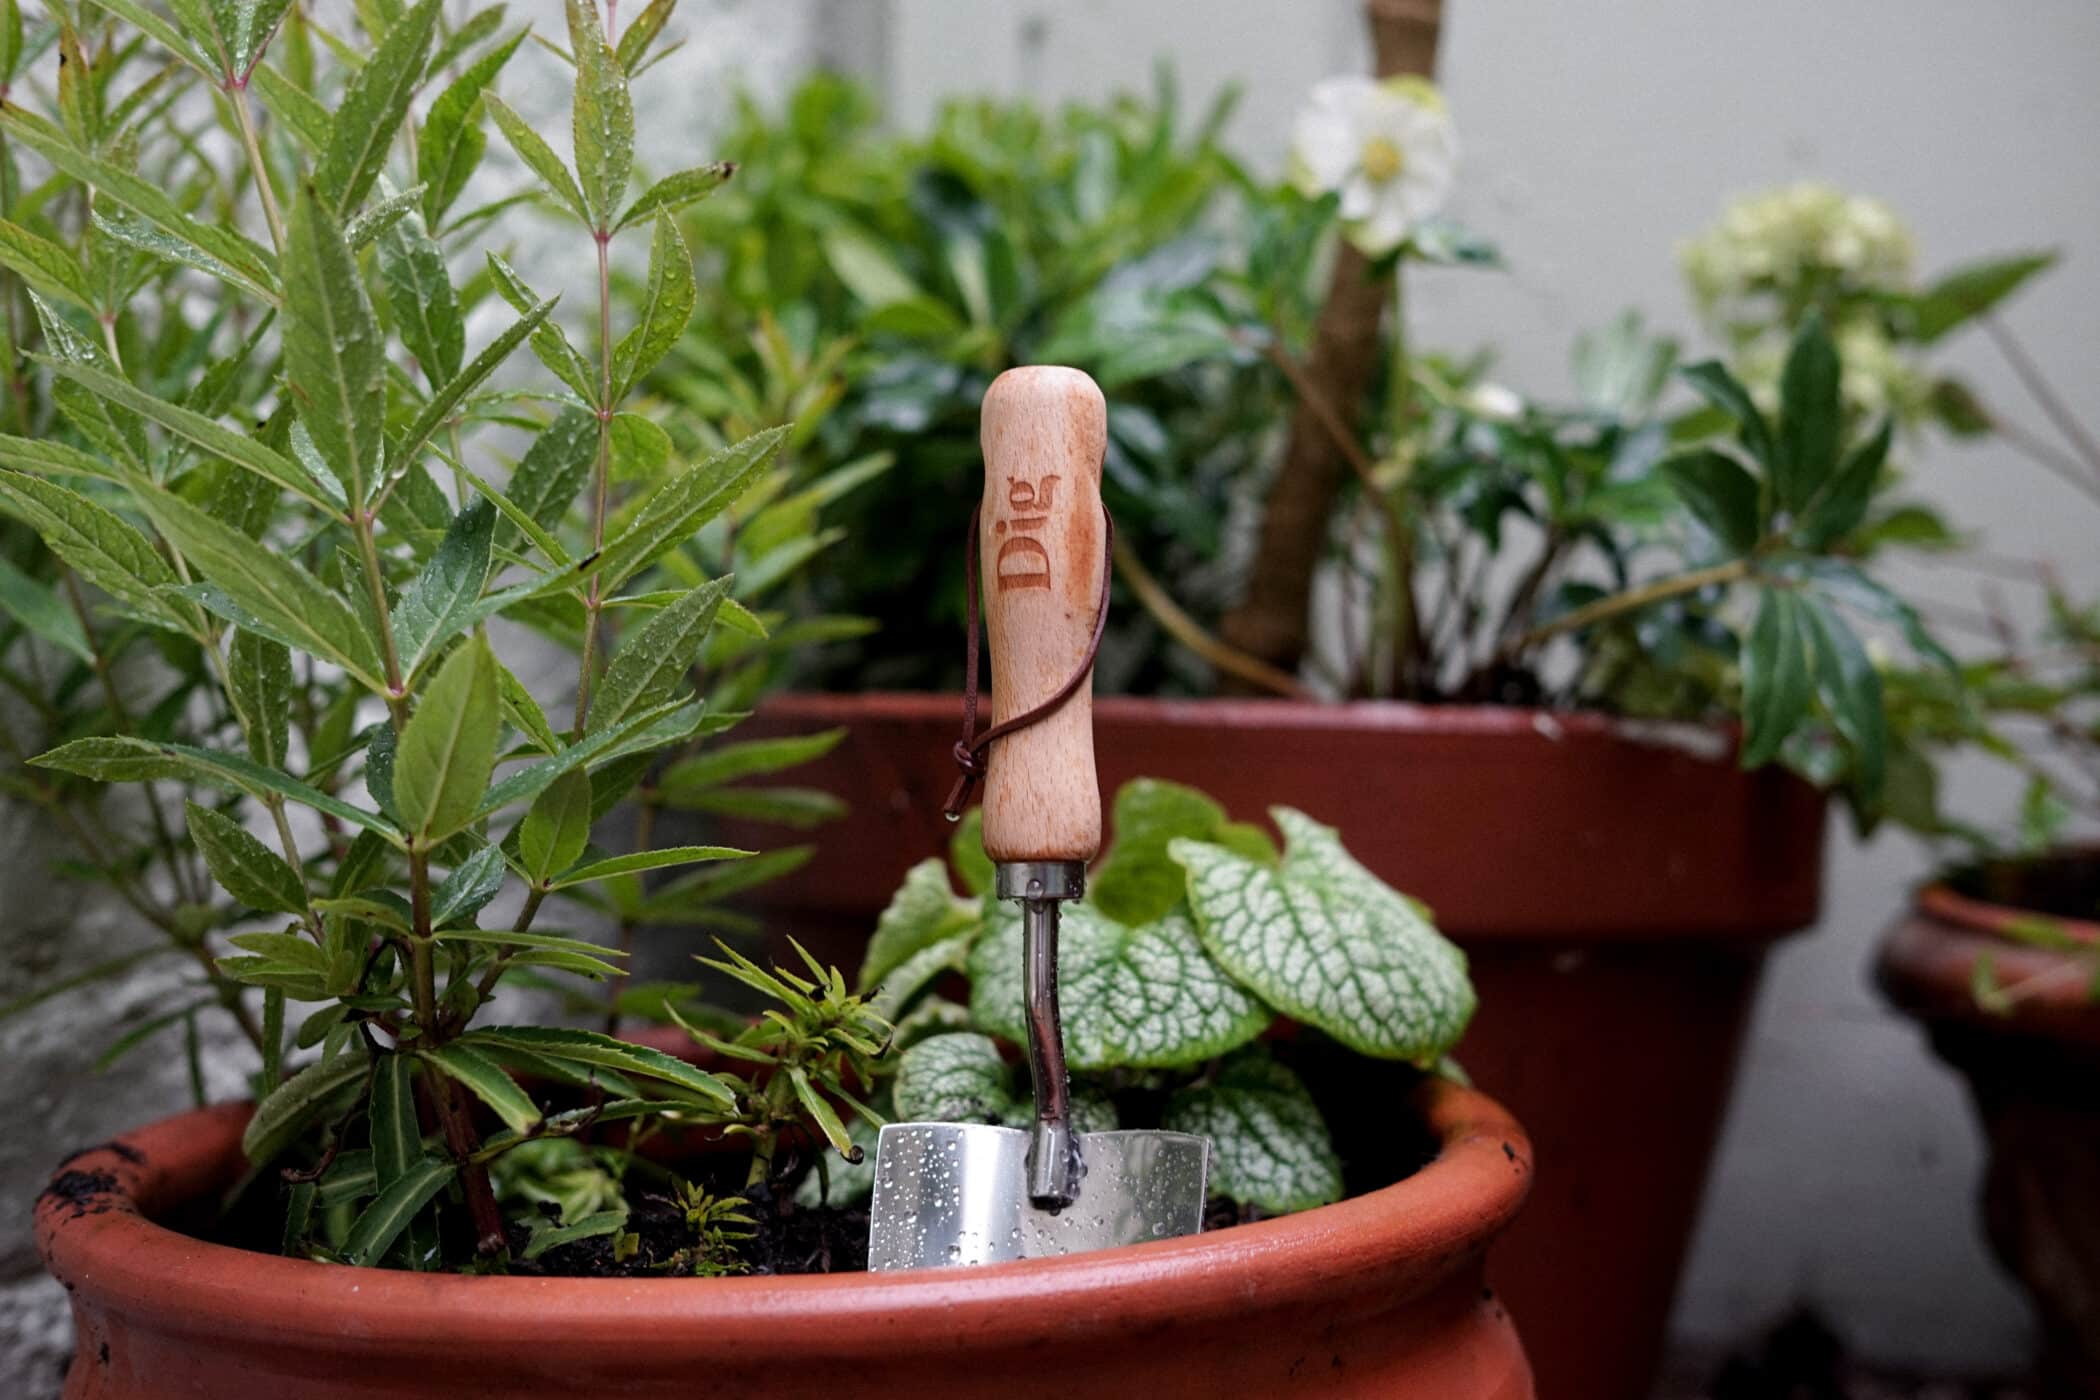
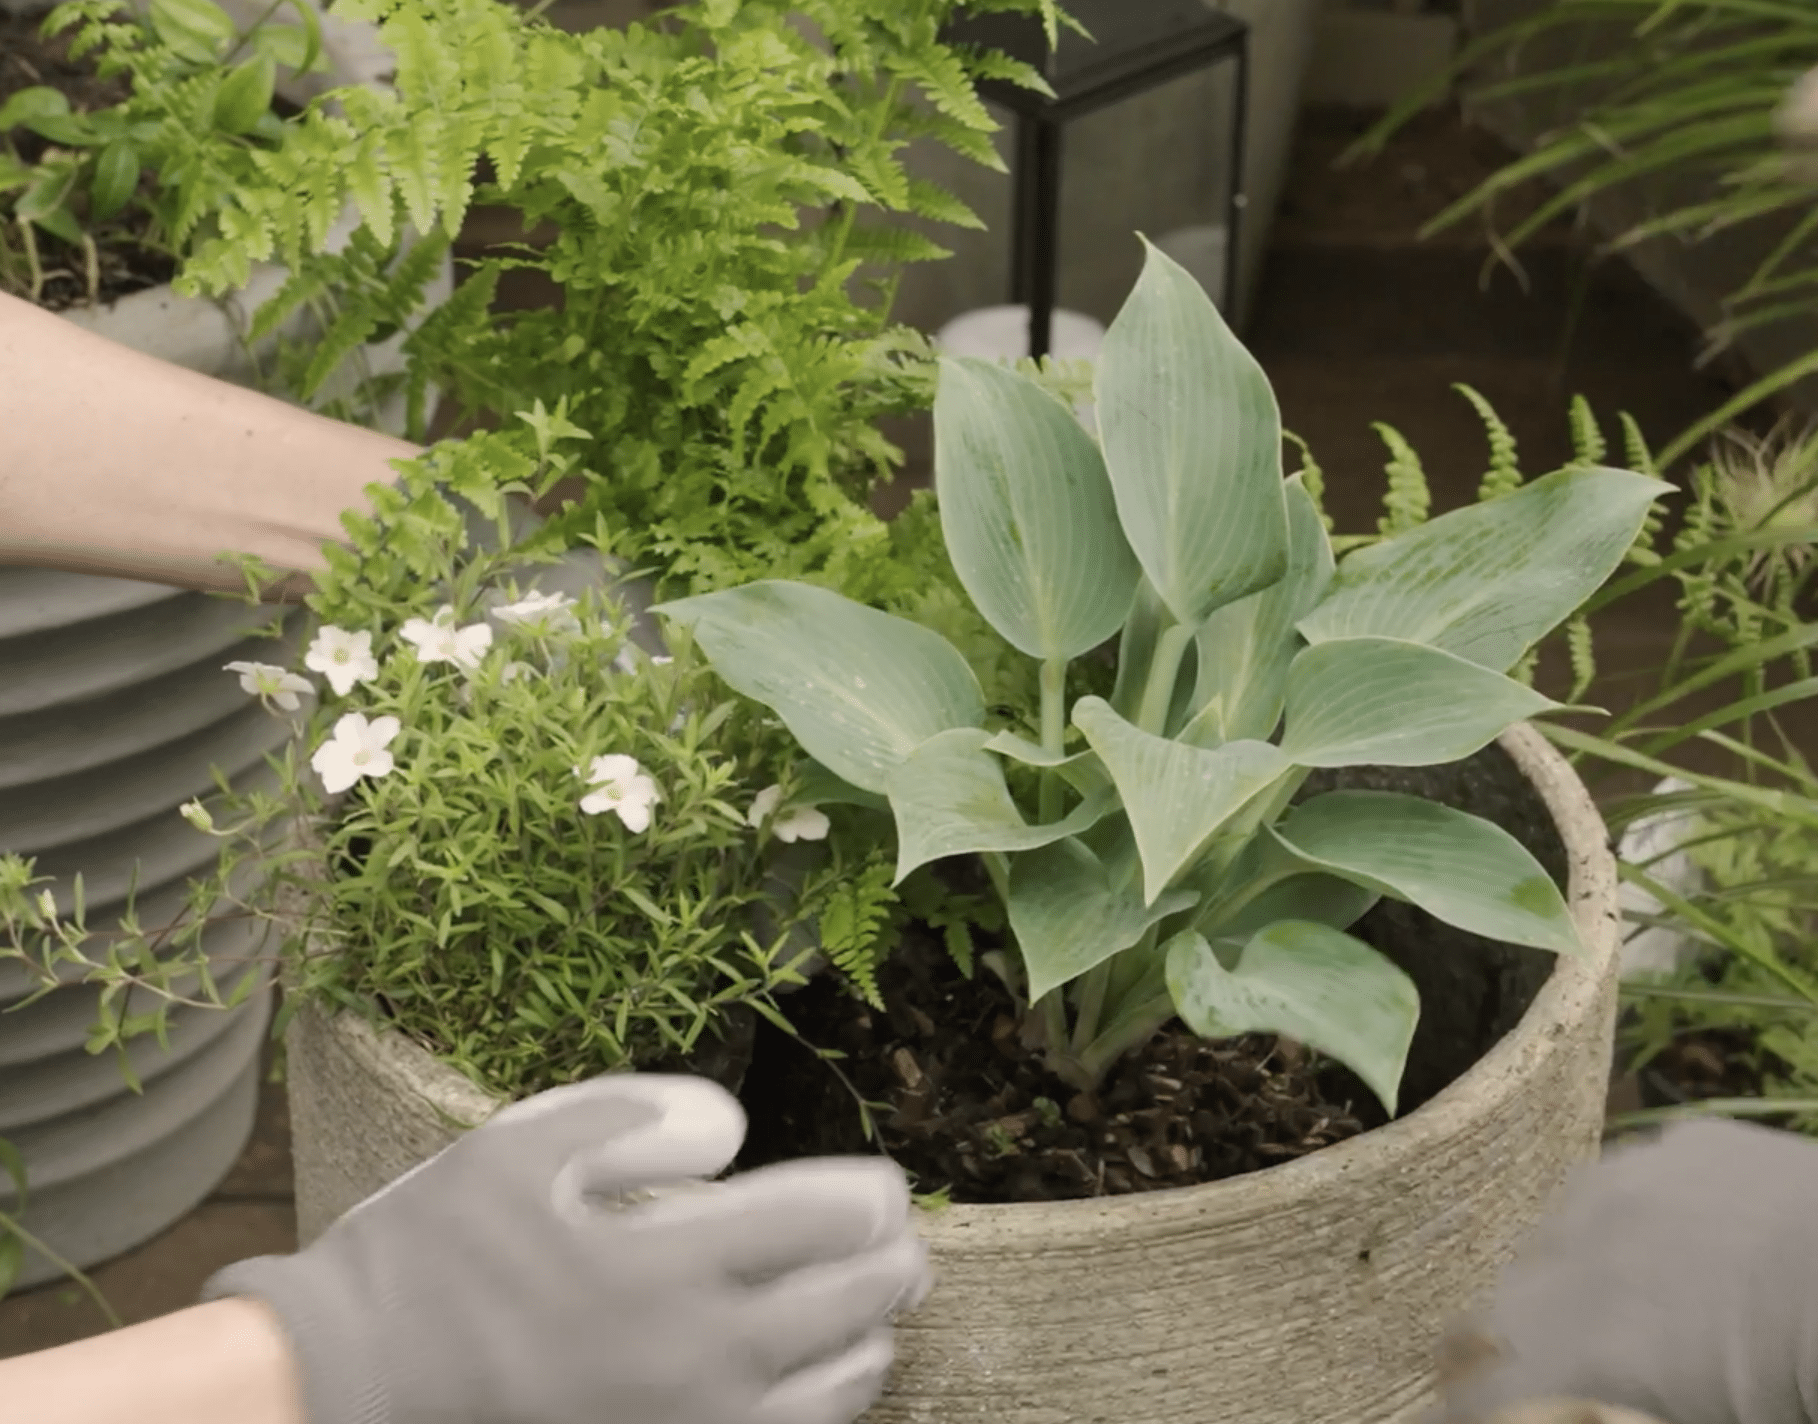
Now for the fun part! If planting multiple plants, then it’s wise to consider what eventual size they’ll grow to, with the smaller or trailing ones at the front, with the taller or evergreen plants at the back (or centrally, if the pot will be viewed from all sides).
If planting a single tree or shrub, these can also have a ‘best side’, so try turning it around to make sure you’ll be viewing it from it’s most attractive angle. The gardening equivalent of ‘get my good side’.
Once positioned, infill the gaps around the edge with compost, gently firming it down afterwards.
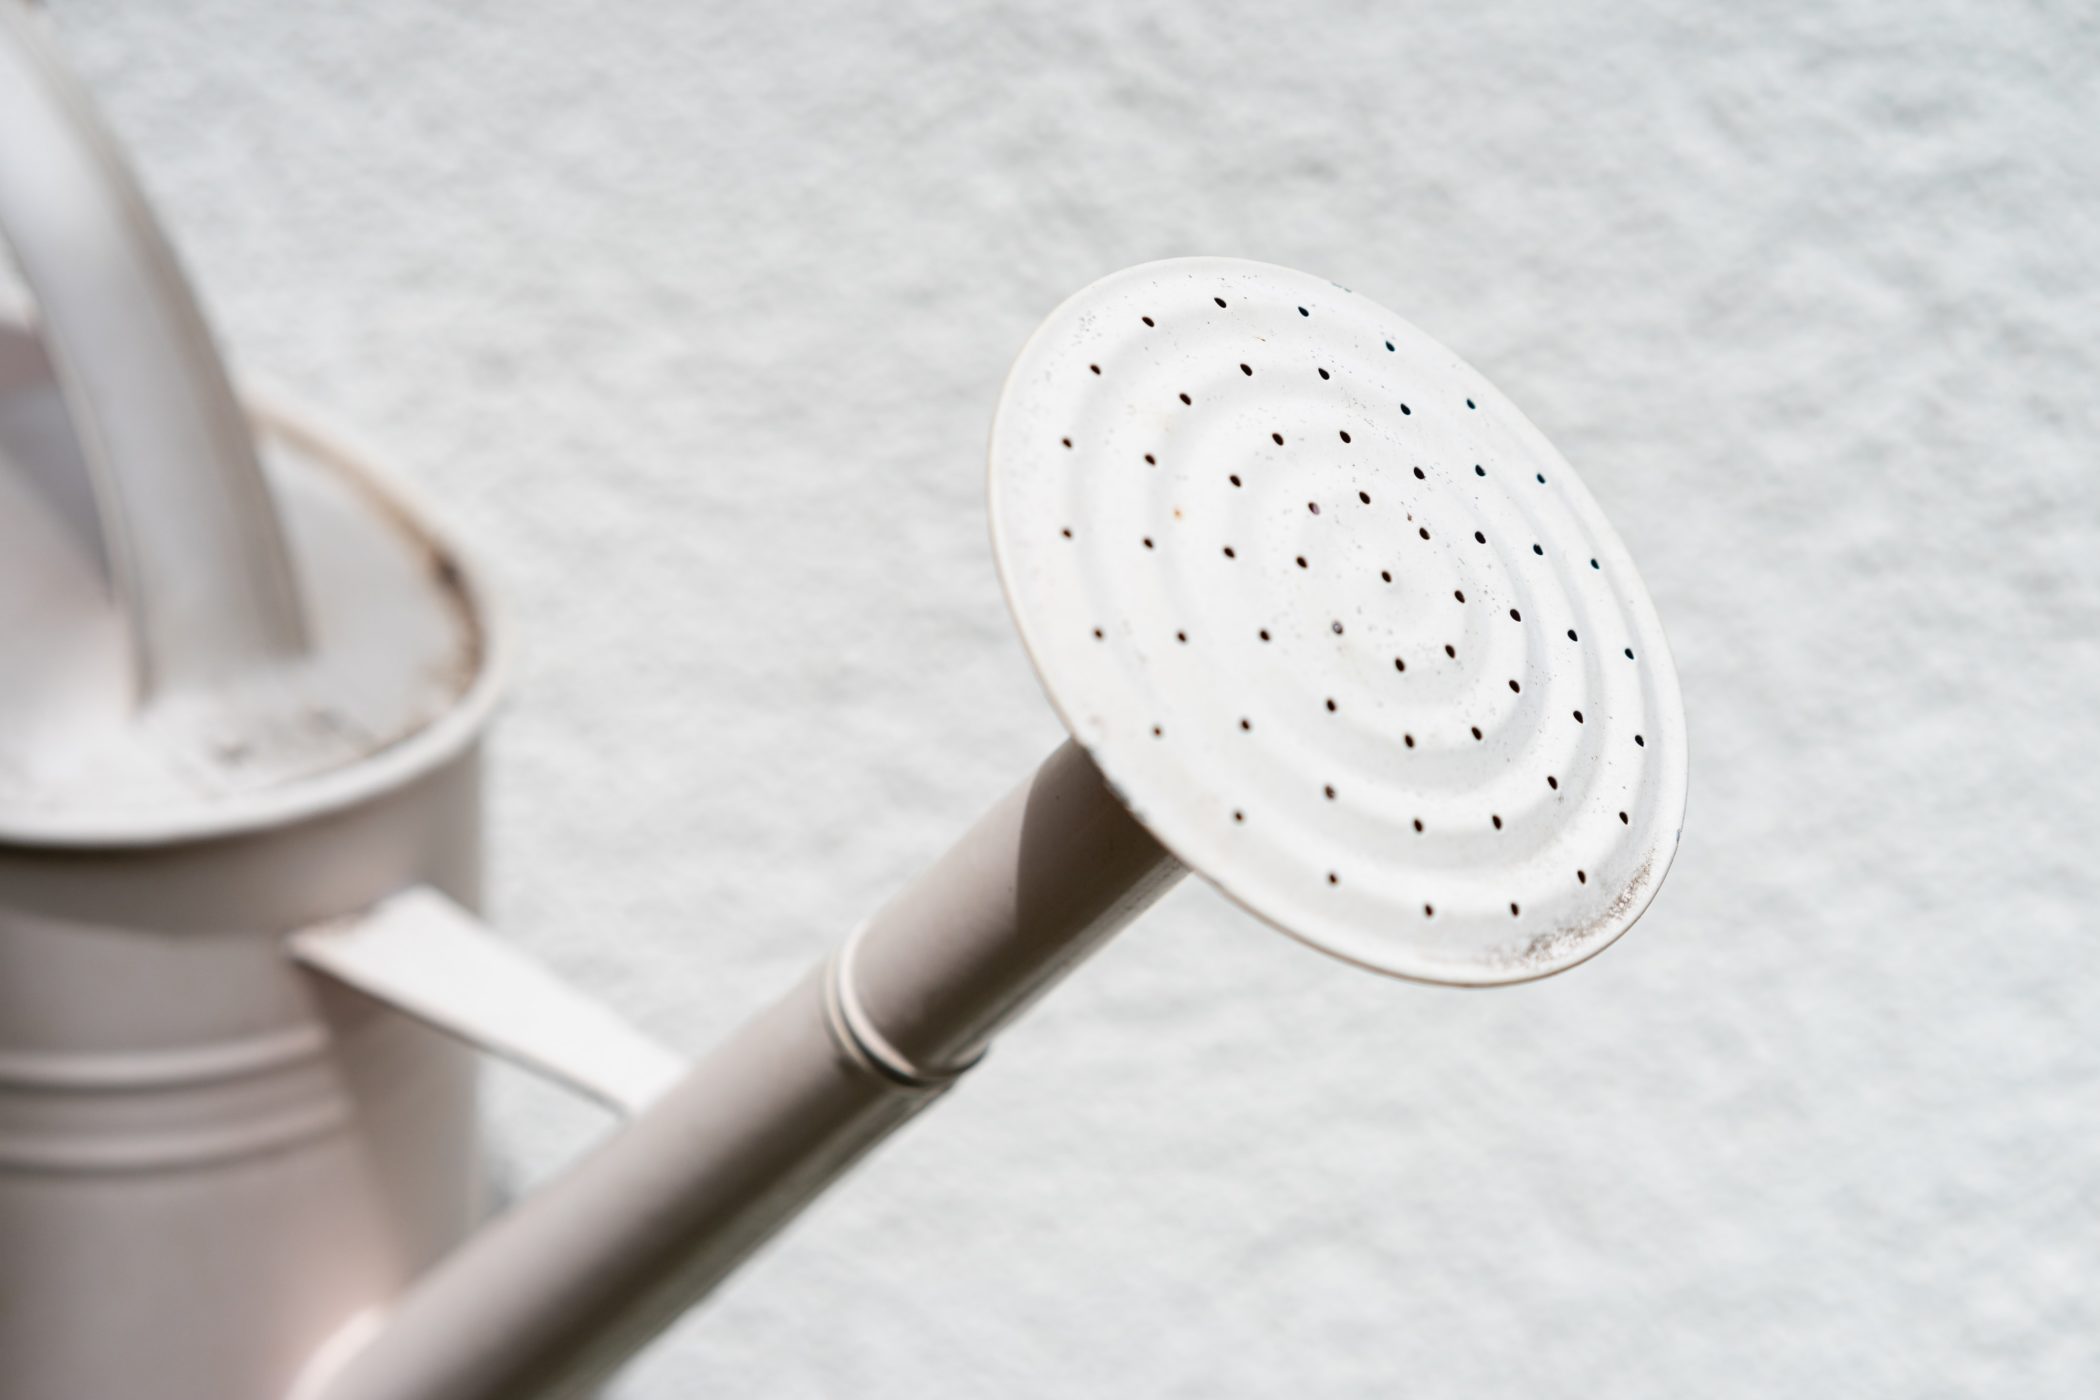
You should always water well after planting – but try to use a fine spray (either with your hose or sprinkler attachment of your watering can, so as not to disturb the top of the compost too much. Since pots dry out more than plants in the ground, you will need to water these more than you’d like in the first 1-2 years, until the plants are well-established.
Planting in the ground
Planting into the ground requires a little more investigation and planning to ensure that what you plant will thrive. It’s important, first and foremost, to check what type of soil you have – from acidic to alkaline, moist to dry, nutrient-rich to nutrient poor. Though not vital, these simple checks will put you in a better position to choose the right plant for the right place. Every Dig garden can be catered to different soil types so, if looking at one of our Instant Beds and you know that your garden has a specific requirement be sure to let us know so we can make the necessary adjustments.
There are some straightforward ways to tell what kind of soil you have, including looking at what is already in your garden. For example, if you have any of the aforementioned acidic loving plants (Azalea, Rhodedendron or Camellia) already growing well, then this could mean that your soil is more acidic than alkaline. We recommend working with your soil, and not attempting to change its pH. Sometimes fighting against nature or environment is not worth the hassle! Try planting fellow ericaceous plants, such as Heathers, Hydrangeas, or some types of ferns. You can also buy pH tests from online retailers that are quite simple and quick to use, and will give you a more exact reading of your soil pH.
It’s worth also looking at how much moisture is retained in your soil too. Is it usually quite dry, or does it retain moisture for a long time after rainfall? The type of soil you have is important – for example clay soil is quite moisture retentive and can be difficult to work with but is also nutrient-rich which is great for many plants. An easy way to tell if you have nutrient-rich soil is whether you have a lot of worms in your garden. Worms love nutrient rich soil.
If you find that your soil is nutrient-poor, it may be worth adding soil improver such as manure or organic compost, or laying bark mulch on top of your soil once you have planted your plants. This will slowly release nutrients over a period of a few months, when you can then refresh it once again.
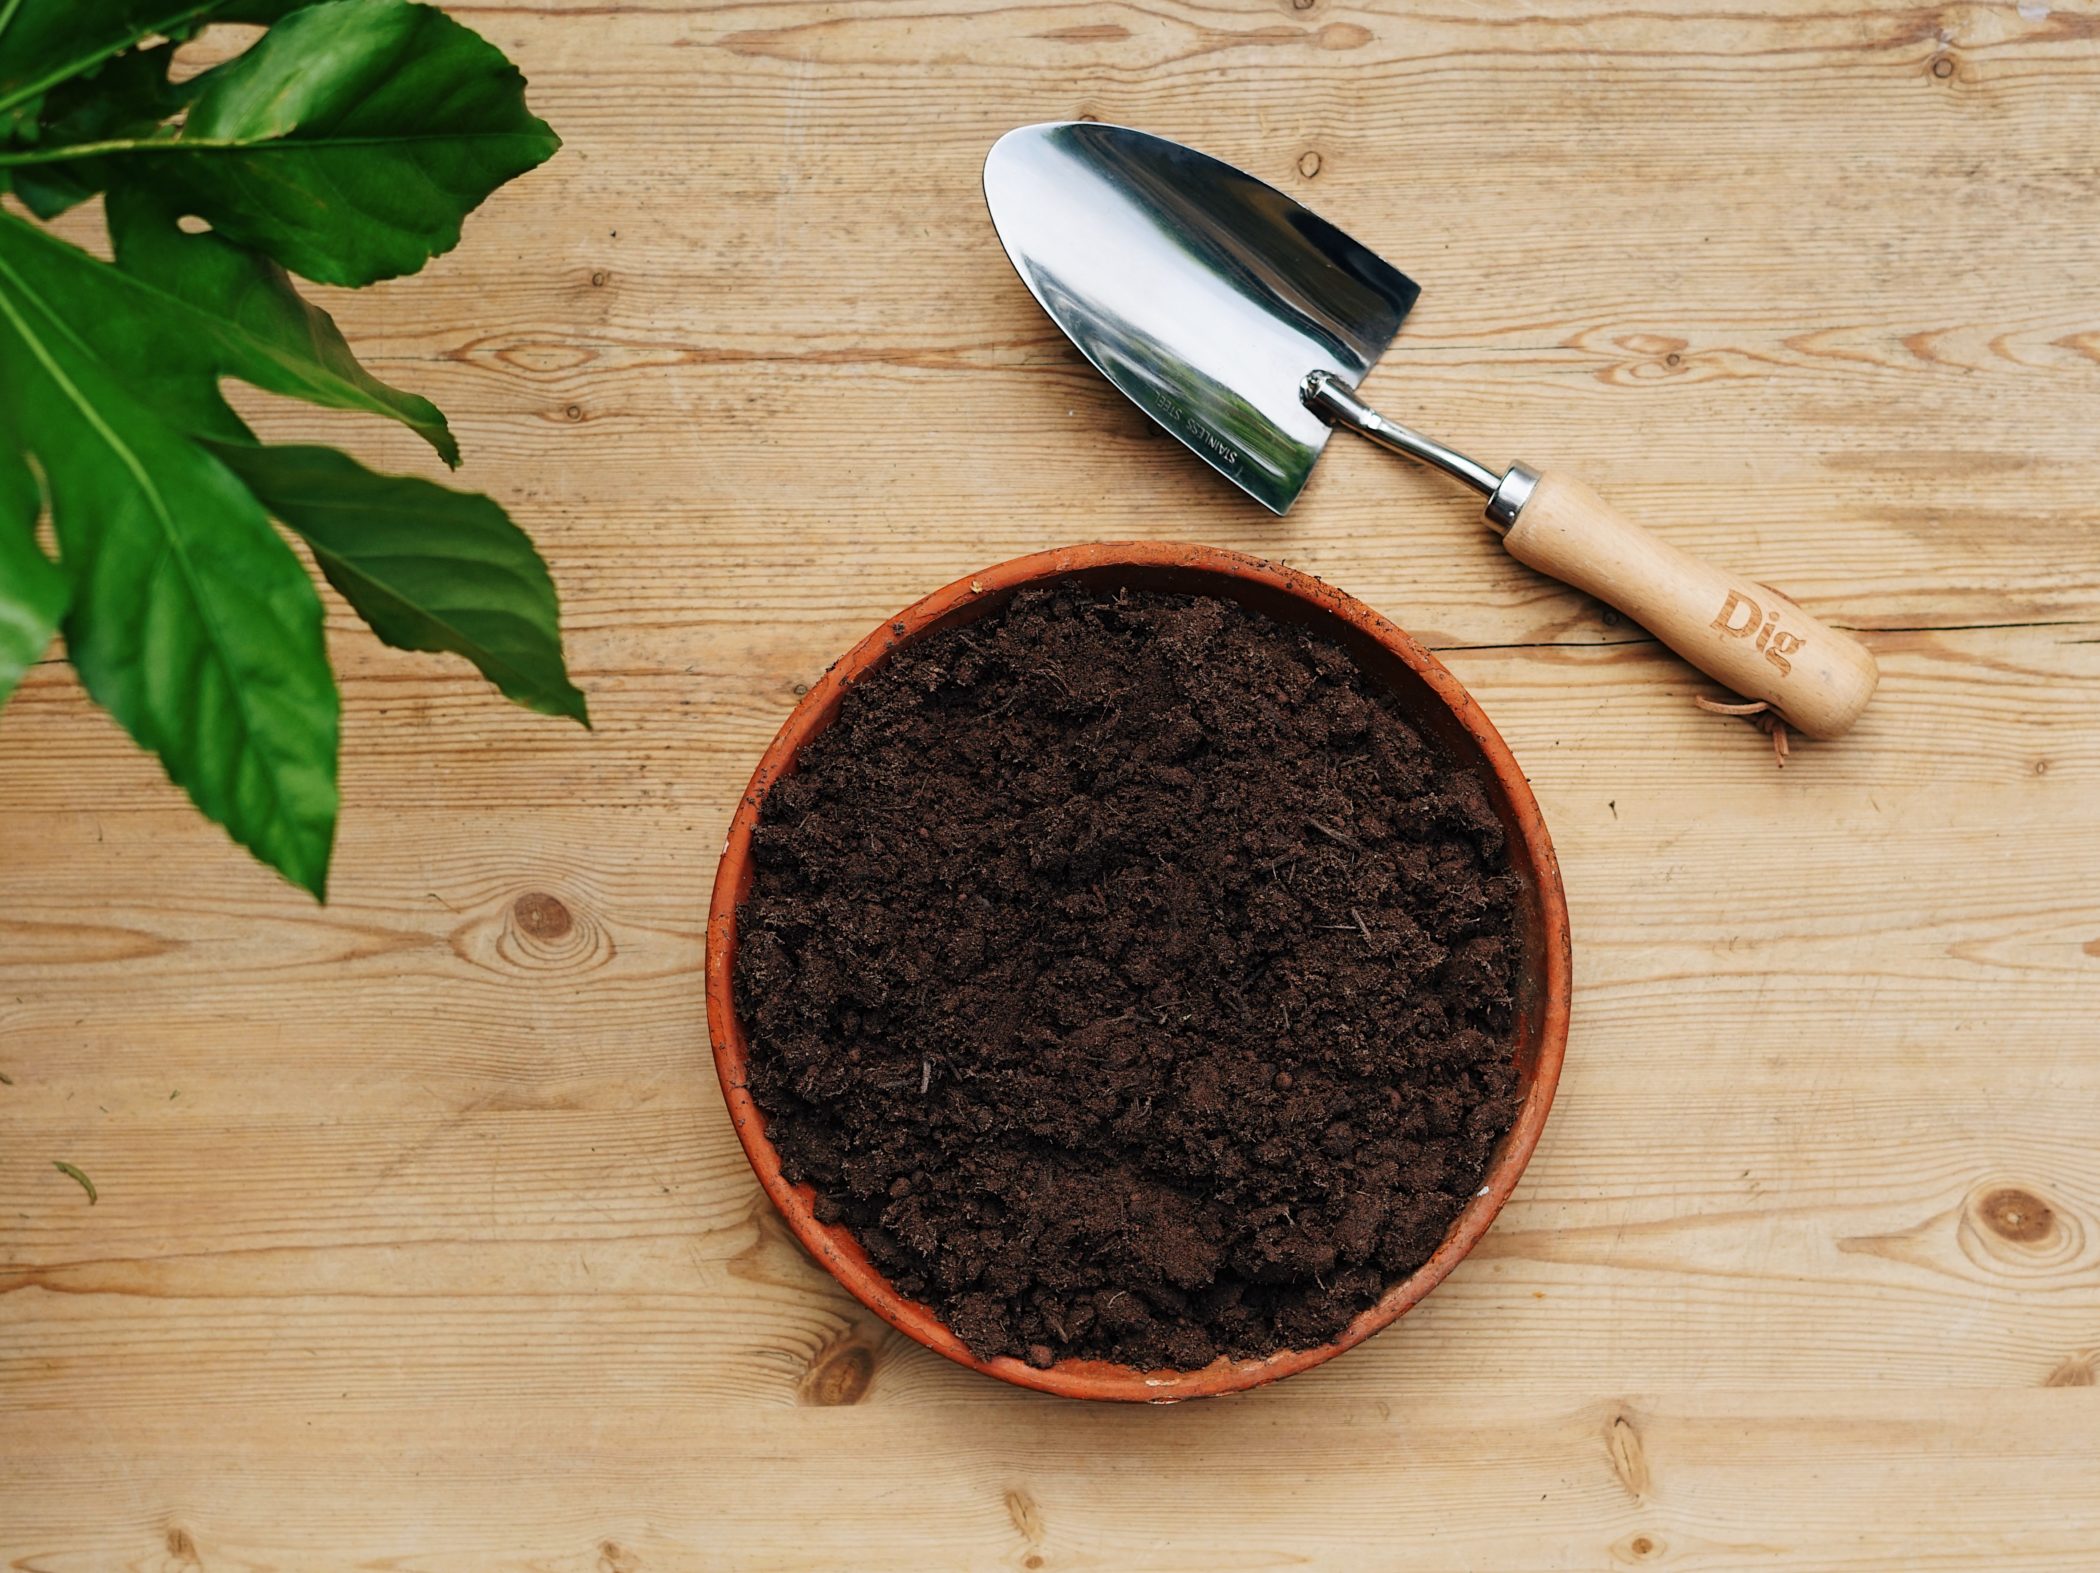
We always use (and supply) peat-free compost.
When you have done a bit of investigating into your garden and chosen suitable plants, you can then place them out, and start digging! Dig gardens come with a helpful planting plan and professionally-designed layout, but if you are planting your own, a good rule of thumb when positioning plants is to work in rows and to place plants on the diagonal, rather than square grids.
Gardening isn’t an exact science and so it’s worth bearing in mind that it’s often worth the ‘risk’ to plant something even if you’re not 100% sure it will do well or survive – many plants are hardier than we give them credit for, and can thrive in conditions that are surprising. If you’re unsure, we recommend trialling one or two of the plants you’d like to include though if you have the patience so that you’re not investing a lot in plants that might not make it.
Once you’re ready to plant, dig a hole that is suitable for the plant, making it a bit bigger than the size of the pot that the plant is growing in, or if working to a rootball, bigger than the rootball by about the width of a clenched fist.
If working with a plant in a plastic nursery pot, take the plant and invert it, holding the plant in one hand and the base of the pot in the other. Shift and tap it to knock it out.
Once removed, we recommend roughing the outer roots a little to encourage new growth. Don’t be too aggressive, just loosen slightly – especially if you notice that the plant has lots of roots or appears to be what we call ‘rootbound’.
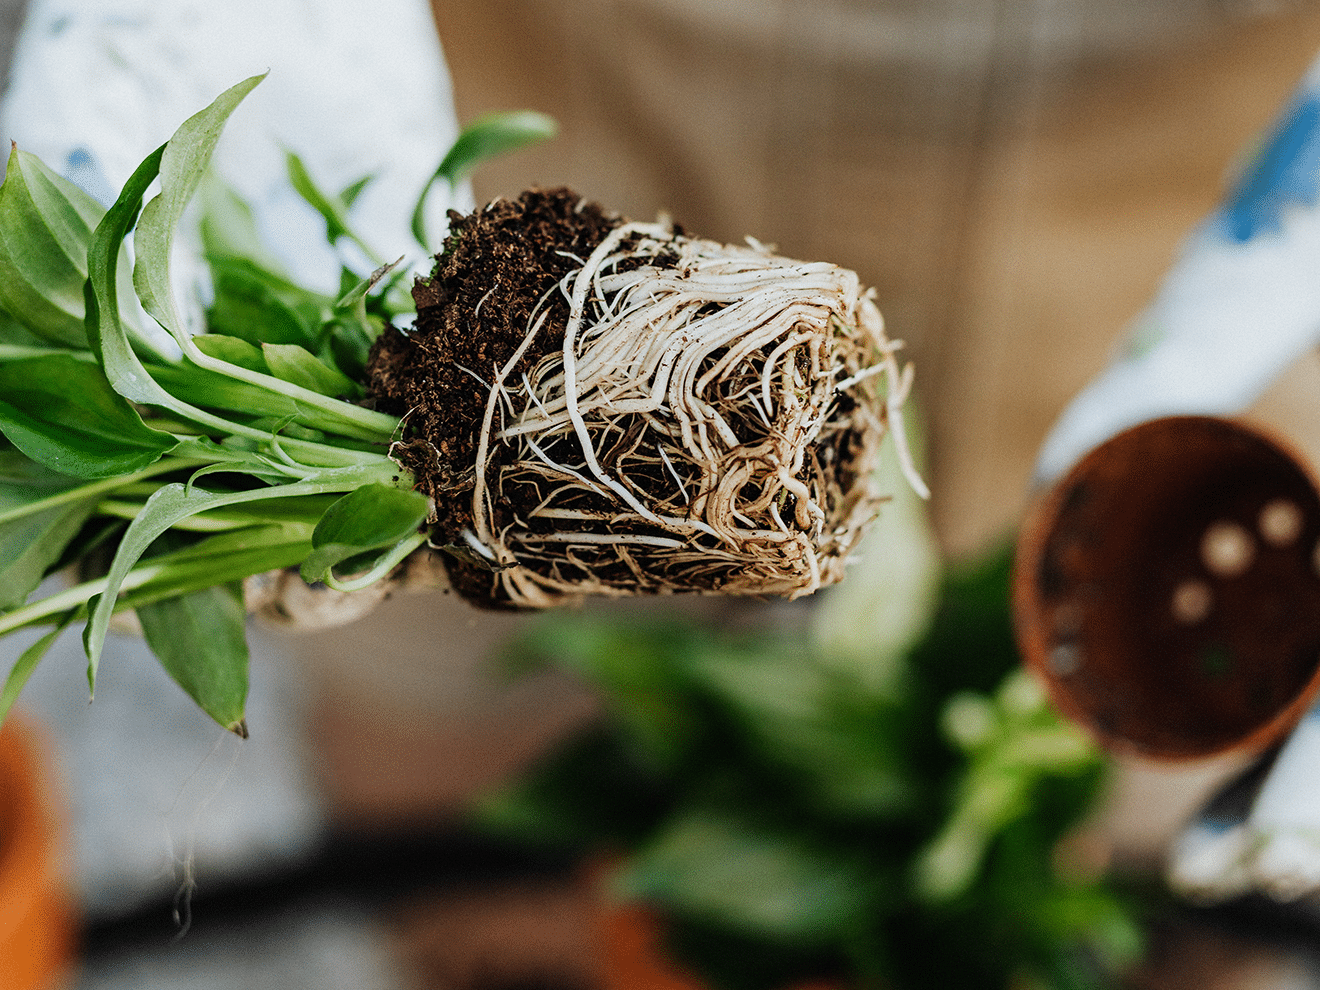
Place the plant in the hole you’ve dug, ensuring that the top of the compost is at the same level as the surrounding soil. Then, infill the hole around the rootball of the plant, and gently press down, but not too hard.
Water in, and continue to give it some extra watering attention for the first week or two.
